Adding & Removing Contact Point Purposes
Contact Point Purposes (CPPs) provide a simple approach to customizing communication preferences for individual email addresses within a constituent record in Tessitura. CPPs can work in conjunction with Prospect2 Lists and/or Tags to create a one-to-one relationship. This allows for key data points, such as communication preferences, to be in sync between Tessitura and Prospect2 regardless of where those preferences are updated.
The following article details how to add or remove integrated CPPs in Tessitura or Prospect2, in addition to updates that you should expect once an integrated CPP is added or removed.
Adding or Removing an integrated CPP in Tessitura
Adding a CPP to an email address in Tessitura will add the integrated Tag or List subscription to the contact record in Prospect2.
Implementing Contact Point Purposes does not automatically update retroactively. Contacts in lists or with tags that exist prior to the association of the CPP in question will not have CPPs automatically applied in Tessitura.
Should you wish to proceed with a CPP integration with an existing list or tag, there is a process to backfill existing List Subscribes and/or Tags. It will update assigned CPPs to existing email addresses in Tessitura.
Please reach out to us at help@prospect2.com for assistance if you would like this done for an existing list or tag.
Removing a CPP from an email address in Tessitura will remove the Tag or unsubscribe the email address from the associated List in Prospect2.
To integrate with Tags, the Contact Point Purpose Description and the Prospect2 Tag must be wrapped in straight brackets; Ex: [TagName]
Adding or Removing via Contact Details Tab in Tessitura
Click on the Contact Details tab
Select the desired eAddress and choose Edit Purposes.

Add or Remove a CPP
Once an integrated CPP is added or removed from an email address and you have saved your changes, the updates will be reflected accordingly in Prospect2.
Adding or Removing via Prospect2 Custom Screen in Tessitura
Click on the Custom Tab in Tessitura
Click on the Prospect2 radio button.
Select an Email Address
Select the email address that you wish to update in the dropdown.
Select the Tag or Prospect2 List to Update
Tags: Toggling the CPP integrated Tag to the ON or OFF position will add or remove the Tag from the contact record in Prospect2 and will add or remove the CPP from the email address in Tessitura.
Lists: Selecting the Subscribe or Unsubscribe radio button will subscribe or unsubscribe the contact in Prospect2 and will add or remove the CPP from the email address in Tessitura.

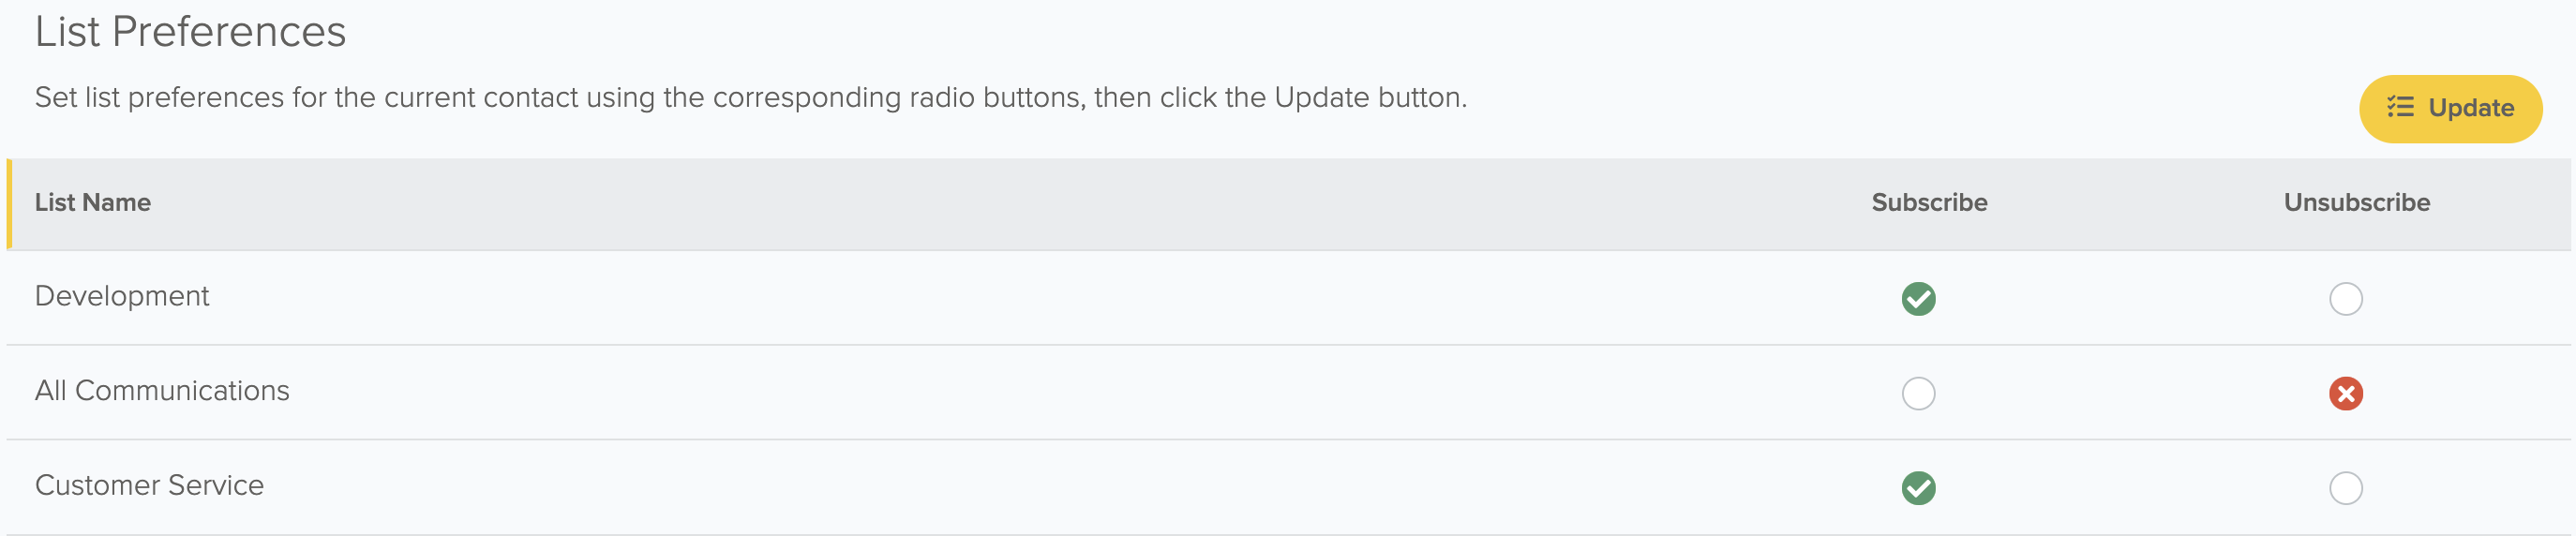
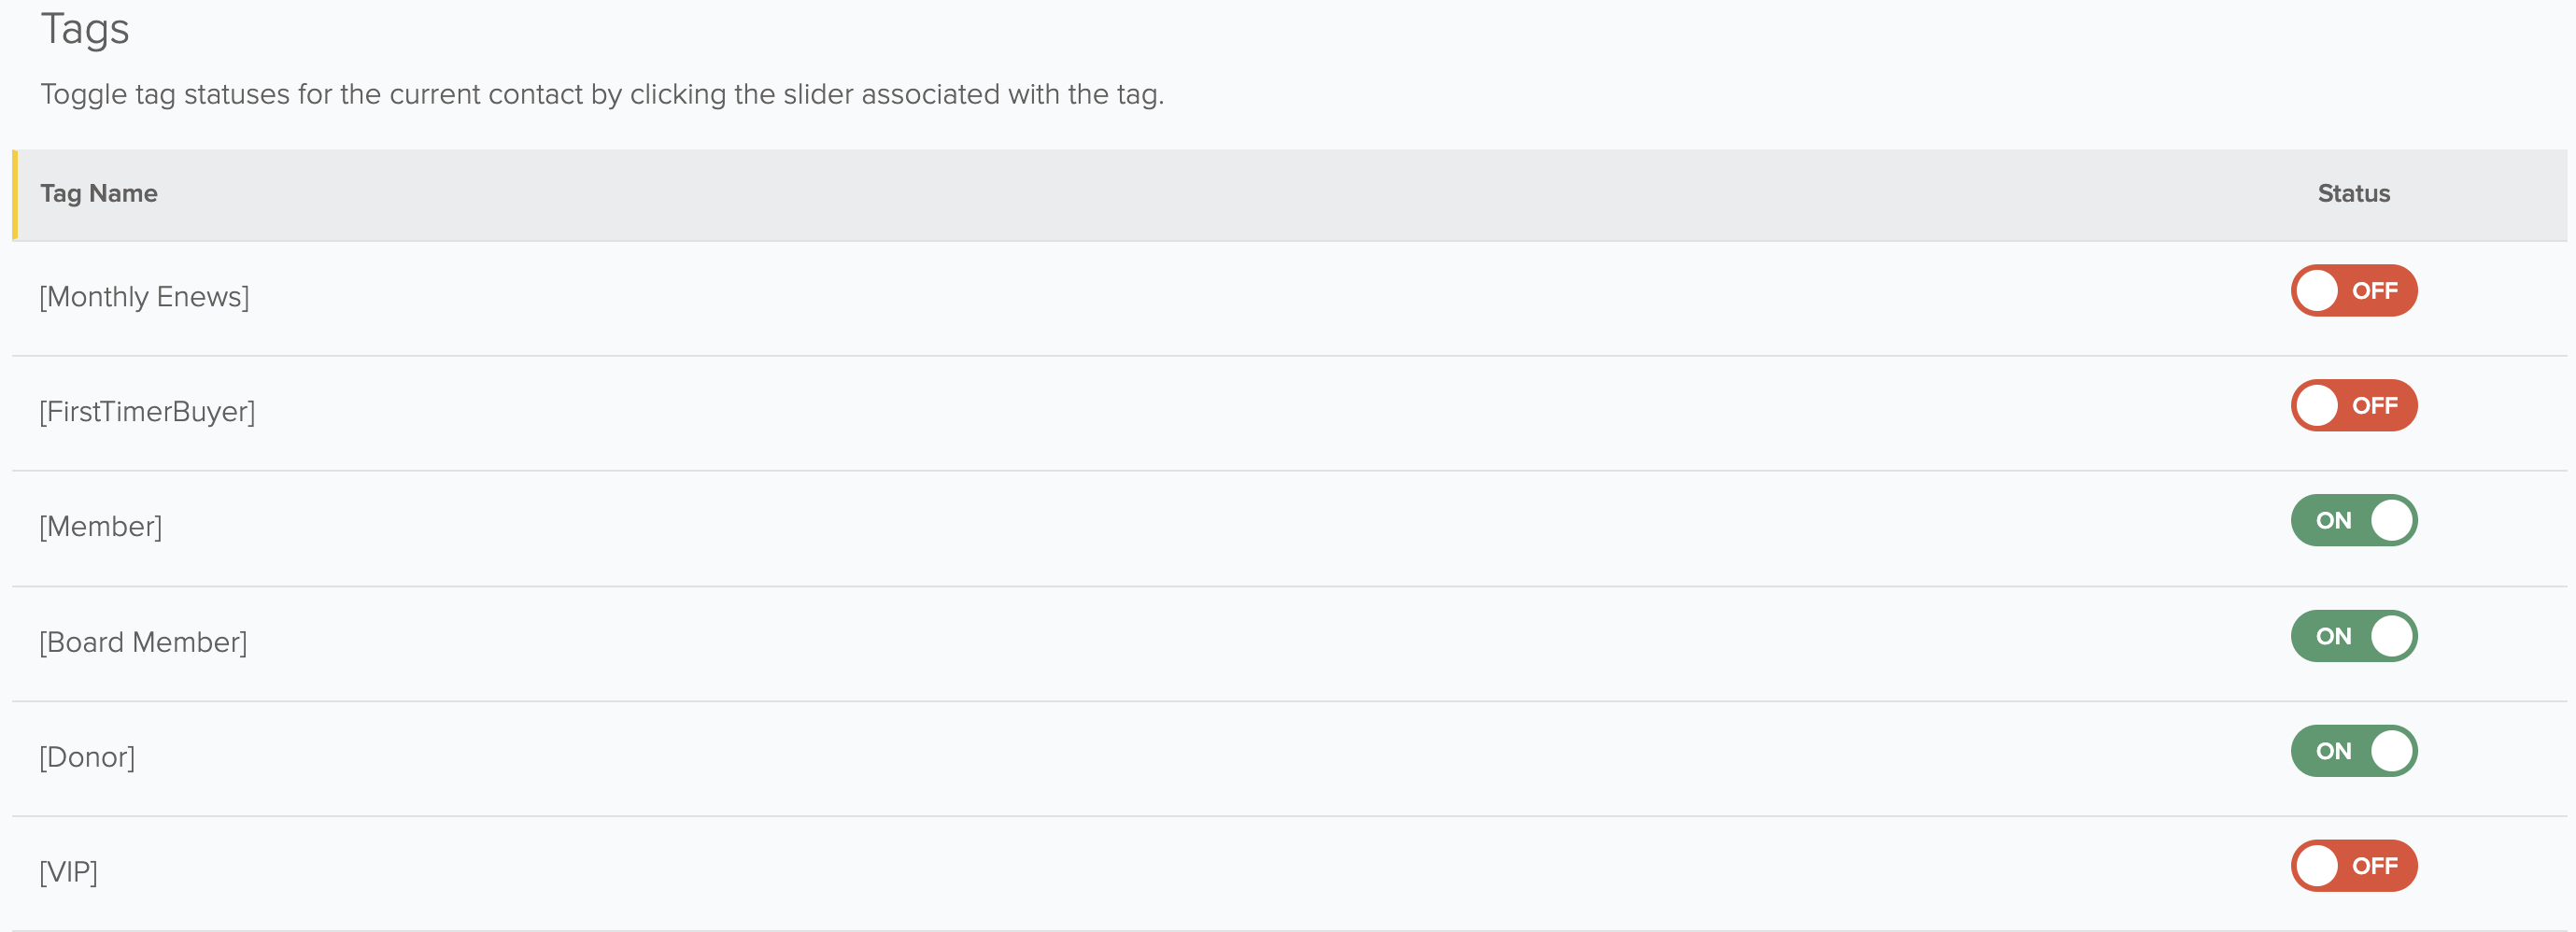
Save Your Changes
For Lists, click the Update Lists button to save your changes.
For Tags, toggling ON and OFF saves the selection automatically.
Adding or Removing an integrated CPP List or Tag in Prospect2
Adding an integrated Tag or Subscribing a contact to a list will add the associated CPP to the email address in Tessitura.
Removing a Tag or Unsubscribing from a list will remove the associated CPP from the email address in Tessitura.
Adding or Removing via an Automation in Prospect2
Automation actions such as Add tag, Remove tag, Subscribe to List, or Unsubscribe from List will allow you to automatically add or remove integrated CPPs from an email address in Tessitura.
Create an Automation
Tags: Include the Add tag or Remove tag action within your automation and select the appropriate Tag. Lists: Include the Subscribe to list or Unsubscribe from list action within your automation and select the appropriate List.

Lists: Include the Subscribe to list or Unsubscribe from list action within your automation and select the appropriate List.

Entering Contacts into the Automation
Once your automation is active, you can bulk add contacts into the automation, or you can utilize a specific trigger so once contacts meet the conditions of the trigger, they will automatically enter the automation and updates will be reflected in both Tessitura and Prospect2.
Bulk Adding Contacts into the Automation
- Navigate to the Contacts Page in Prospect2.
- Filter for a specific group of contacts by creating an Advanced Search. You may also utilize some of the standard filter options available on the contacts page.

- Define your segment criteria that will include contacts who should enter the Automation.
- Any contact that meets the conditions that you’ve defined will display on the contacts page. Select the Edit All button.

- Select the ‘Add to an automation’ action in the Bulk Edit tool and choose your automation from the dropdown.

- Select ‘Apply’ to confirm your changes.
Manually Adding or Removing in a Contact Record in Prospect2
Locate the Contact Record
Locate and open the contact record in your Prospect2.
Applying Updates
- Tags: Locate the tag section within the contact record to add or remove Tags. Add a Tag by entering the name in the enter tag field, or remove a Tag by selecting the X mark within the Tag in question. If a Tag is added or removed and is associated with a CPP in Tessitura, then the CPP will also be added or removed from any instances of the email address in Tessitura.
- Lists: Locate the list section within the contact record. If the contact already has a history with the list, you may click into it and subscribe or unsubscribe. If the contact doesn’t have a history with the list in question, click ‘Add’ and select the corresponding list. If a subscribe or unsubscribe action is taken on a List that is associated with a CPP in Tessitura, then the CPP will also be added or removed from any instances of the email address in Tessitura.
Adding or Removing via Bulk Contact Actions in Prospect2
- Navigate to the Contacts page.
- Filter for a specific group of contacts by creating an Advanced Search. You may also utilize some of the standard filter options available on the contacts page.
- Any contact that meets the conditions that you’ve defined will display on the page. Select the Edit All button.
- In the bulk editing tool, you may select actions such as Add to a list, Unsubscribe from a list, Add a tag, or Remove a tag.

- Select ‘Apply’ to confirm your changes.
Email Address Exclusively Exists in Prospect2
If an email address in Prospect2 includes CPP integrated Tags or lists and does not exist in Tessitura, the email will be stored in the LTX_P2_UNASSIGNED_EMAILS table in Tessitura.
There is a scheduled procedure titled LRP_P2_UPDATE_PURPOSES, which can recognize the formerly unassociated email address stored in LTX_P2_UNASSIGNED_EMAILS. This will have to be scheduled as a periodic SQL job. Speak to your Tessitura Administrator to implement a schedule for your organization.